Interfacing levers and control knobs (analog input) with your simulator
Potentiometers (or pots for short) are used to input analog data. They are used when the position of a lever (e.g. flight controls) or control knob needs to be set. I recommend you familiarize yourself with the general function and use of potentiometers at least a bit before using them. Here is how you make them work in your simulator:

1) Get yourself an USB interface board which is able to recognize analog inputs. They are commonly referred to as joystick boards. As with digital inputs (buttons), I found the boards from Leo Bodnar Electronics of very good quality and I use them in my simulator. Boards which allow for analog inputs are usually more expensive than the ones for digital inputs only.
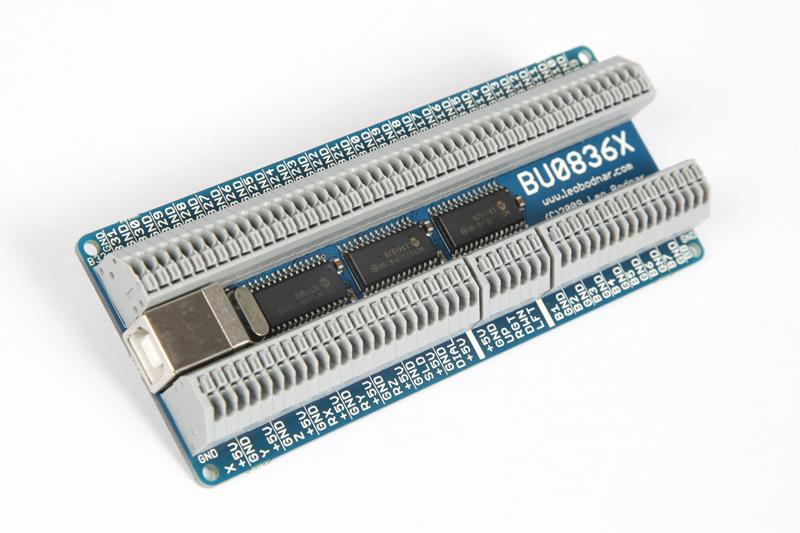
The board shown on the left is the BU0836X 12-Bit Joystick Board. Next to 32 digital (e.g. buttons) inputs, it provides 8 analog inputs with 12-bit (4096 steps) resolution each.

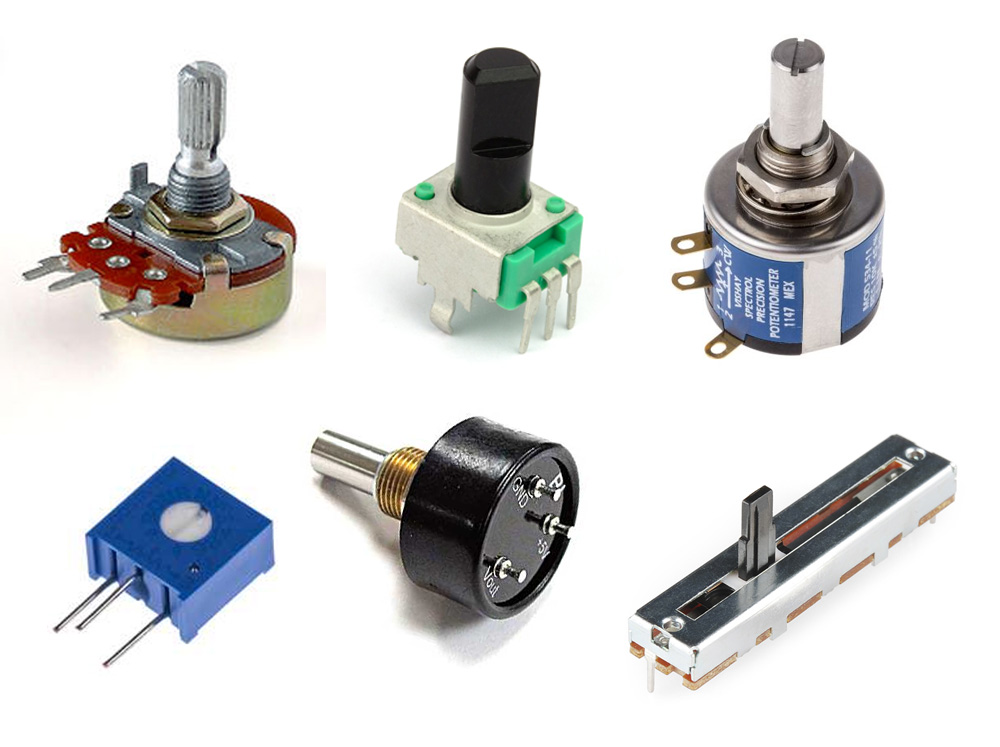
2) To send an analog value to the board, you need a potentiometer. Technically, potentiometers are voltage dividers, providing a variable electric potential (voltage) when turned or slided. Again, there are many different types, shapes and sizes available.
In short, you need to consider following specifications when deciding for a model:
Size and shape: Make sure to select a shaft diameter and shape which fits to the knob you want to use on your pot (more on knobs later).
Resistance: Potentiometers come in various resistances. Without going into too much detail here, pots with 10k Ohms are a good joice when using them with USB boards or microcontrollers (e.g. arduinos).
Type: The output of a potentiometer can be linear or logarithmic. For most simulator inputs, the use of a linear pot makes more sense.
Quality: Declared potentiometer life time varies from some 10-thousand to several million duty cycles and is mainly dependant on the used material, which generaly translates into price. Higher quality pots usually also have a lower noise level, meaning their output is smoother with less or no spikes. A seldomly used control knob will require a potentiometer of a lesser grade than for example one used for flight control input. If absolute precision and durability is required (e.g. flight controls again), go for a hall effect sensor.
3) Connect the potentiometer to the board. Most pots have 3 connectors, so you'll need 3 wires. Usually the left and right connectors are for GND and Vin. With the exception of hall effect sensors, these two are interchangeable, so you can change the direction (cw/ccw) of increasing or decreasing values on your pot. The center connector is called wiper, it carries the output signal. In case of the BU0836X board, the input terminals are already labelled accordingly: (GND) - (name of the axis, e.g. Z) - (+5V)
CAUTION: Always disconnect the board while working on it!

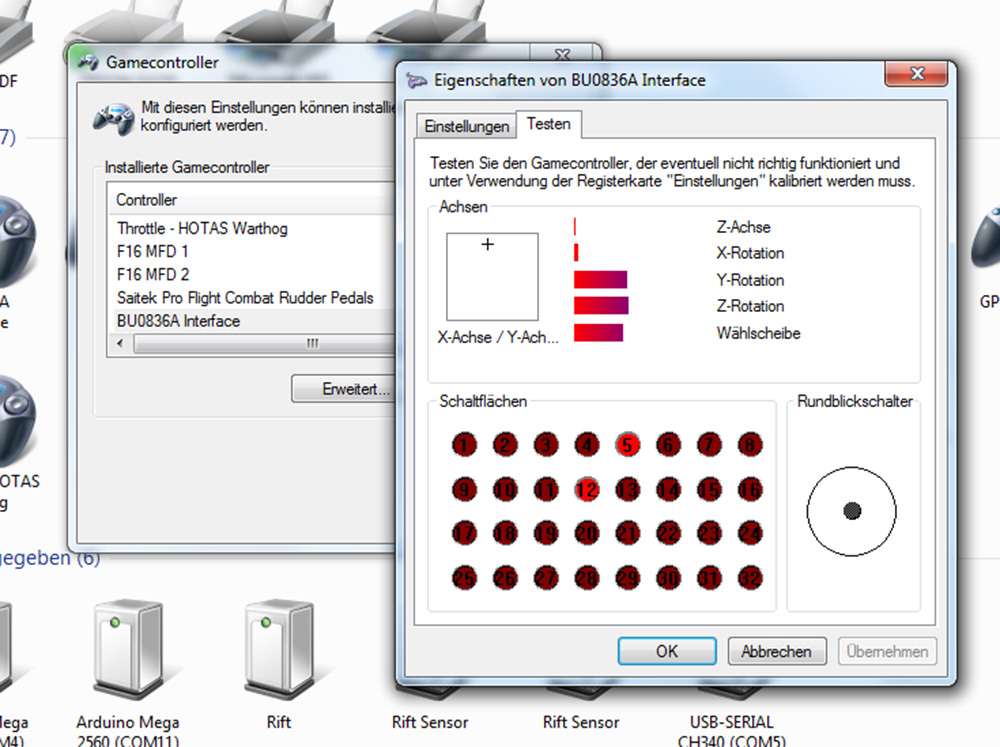
Once finished connecting all pots, plug the interface board into your computer. It should show up as a new device in the Windows Gamecontroller dialog. If you wired everything correctly, your potentiometers should act like joystick axes and you can now assign cockpit controls to it in your simulator software.
In case your pot/axis works, but responds in the wrong direction: just interchange the GND and +5V connector on the board or on the pot itself (disconnect power again before doing so).
Sorry, no posts here yet... go ahead and be the first ;)