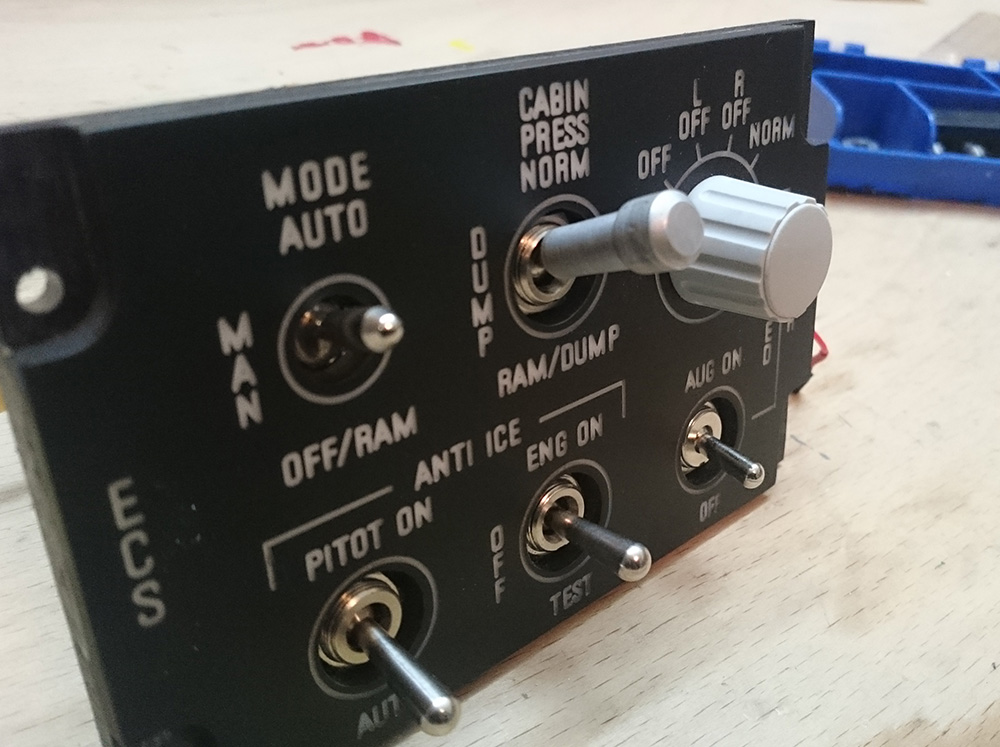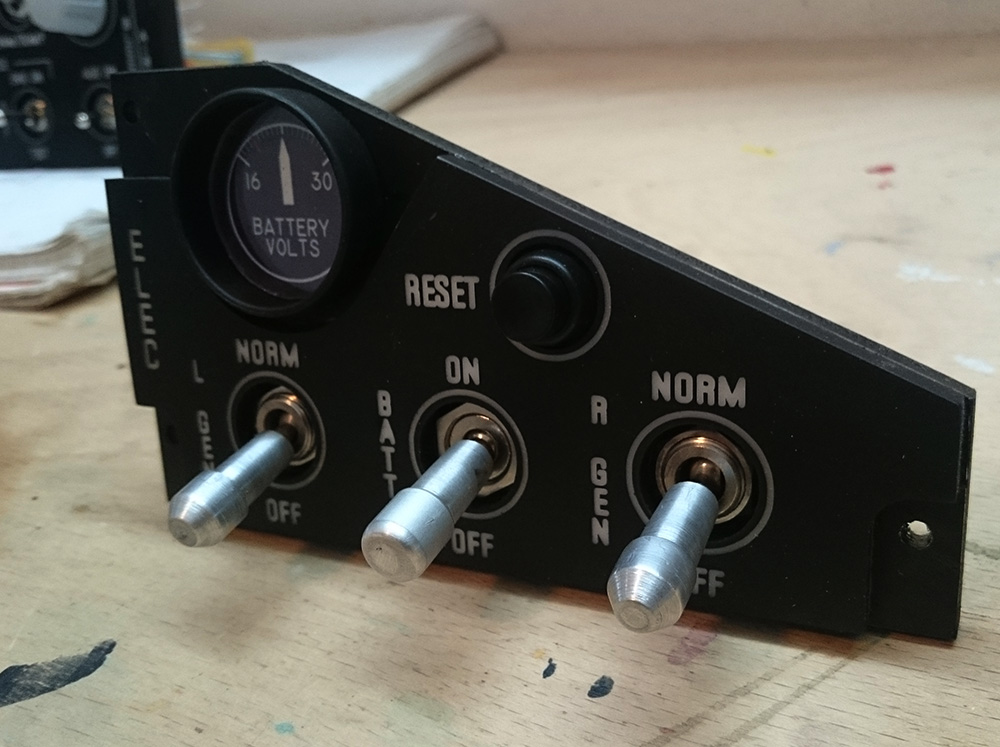
Panels, switches and lights
I cut and engraved all panels out of ABS (acrylonitrile butadiene styrene) or semi transparent plexiglass using a small STEPCRAFT-2/300 CNC machine. I plan to make a tutorial on how to make panels with or without a CNC system soon, hang on. There are also tutorials on how to interface harware with your simulator.
Sourcing adequate (and affordable) switches, pushbutton, rotaries and lights can be a bit tedious, so here are some sources I found useful:
2 and 3 position toggle switches
: pcflights.comThey can generally be sourced most easily in all kind of sizes and shapes from local hardware or automobile stores to various online shops. Constrary to this, I found it hard to find adequate switch caps like the ones used in the Hornet. So I decided to make them myself. See the switchcaps tutorial for more info.
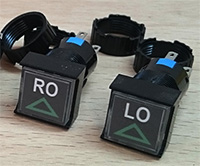
Pushbuttons with LED
and customized labels: cockpitphd.comI use them on the Jettison Station Select panel as well as for the engine and APU fire lights and switches. You can easily design your own labels, laser-print them on overhead transparency and insert them into the switches.
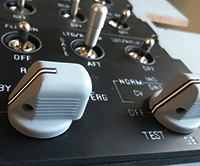
Knobs for rotary encoders, potis and switches
: ehcknobs.comI tried to have them 3D printed by a friend, but eventually bought them from a professional supplier, as the selfmade quality just didn't cut it.
ebay is also still a very good source for both original and replica aircraft parts and switches. Mickey over at Hornetpits.org posted a comprehensive list of links to cockpit builder supply stores.
![]() Markus
posted on 22.11.2020 at 10:57
Markus
posted on 22.11.2020 at 10:57
First at all, great work.Could you be that kind and tell me how thick your panels are.I'm planning on building a cockpit and I haven't found infos regarding to panel thickness.
Thanks a lot
![]() Bergison
Bergison
Hi Markus! I use two layers of 5 mm plexiglass, so the panels are 10 mm thick in total. The upper layer is 30 % white-transparent and painted black, so the engraved labels look white in incident light but allow to be backlit as well. The lower layer is 100 % transparent, holds all the switches, buttons and screws and is only painted on the sides and around the screws.

