Interfacing switches and buttons with your simulator
To flip a switch or push a button in your cockpit and have the simulator recognize it as such, is the most easy part of hardware interfacing. Here is how you do it:

1) You need a USB Interface Board. This is the essential piece of hardware, that connects the switch to your computer. There are many different brands available. Popular in the sim-building community (for a good reason) are the ones from Leo Bodnar Electronics.
The one to the left is a Leo Bodnar BBI-32 Button Box Interface, a board I can highly recommend. With it, you can connect up to 32 pushbuttons or switch positions to your computer. One of its advantages over other boards is that you can also use it to connect rotary encoders (more on that later).

2) Get yourself some (or more) switches and pushbuttons . They are available in a myriad of shapes and sizes and can be sourced easily. Their functionality is specified like this:
| ON - OFF | A simple toggle switch: one position is OFF, the other is ON |
| ON - OFF - ON | A 3-way toggle switch. The middle position is OFF, up is ON and down is (a different) ON |
| (ON) - OFF or MOM - OFF |
A momentary ON toggle switch, has to be held to be ON, springloaded to the OFF position. |
NOTE: You have to be aware of one peculiarity with ON - OFF switches when planning your simulator! Some simulators are able to recognize not only the activation of a button or switch, but also the release of the same. Using FSUIPC in FSX or P3D for example, you can assign an action to the activation (ON state) of a switch, as well as an action for the release (ON to OFF state). In other simulators (DCS for example*), you can only assign an action to the ON state of the switch. If you want a definitive OFF status, you need socalled ON - ON switches, which you can connect to two input terminals of your interface board.
* It actually IS possible to assign release actions in DCS, but it requires some manual changes in the .lua files.
Now connect the GND (ground) connector of the switch (most commonly the middle one, if your switch has only two connectors - take either one) to one of the GND terminals of your interface board. Another advantage of this Leo Bodnar board is that it has Push-in terminals, if you go for switches which have screw connectors, you do not need any soldering at all. Even though this board has individual GND teminals, the GND wire can also be shared between switches - this considerably reduces wire length the more switches you have. The other switch connector(s) are to be connected to an input terminal, in case of the BBI-32 labelled B1 to B32.
CAUTION: Always disconnect the board while working on it!

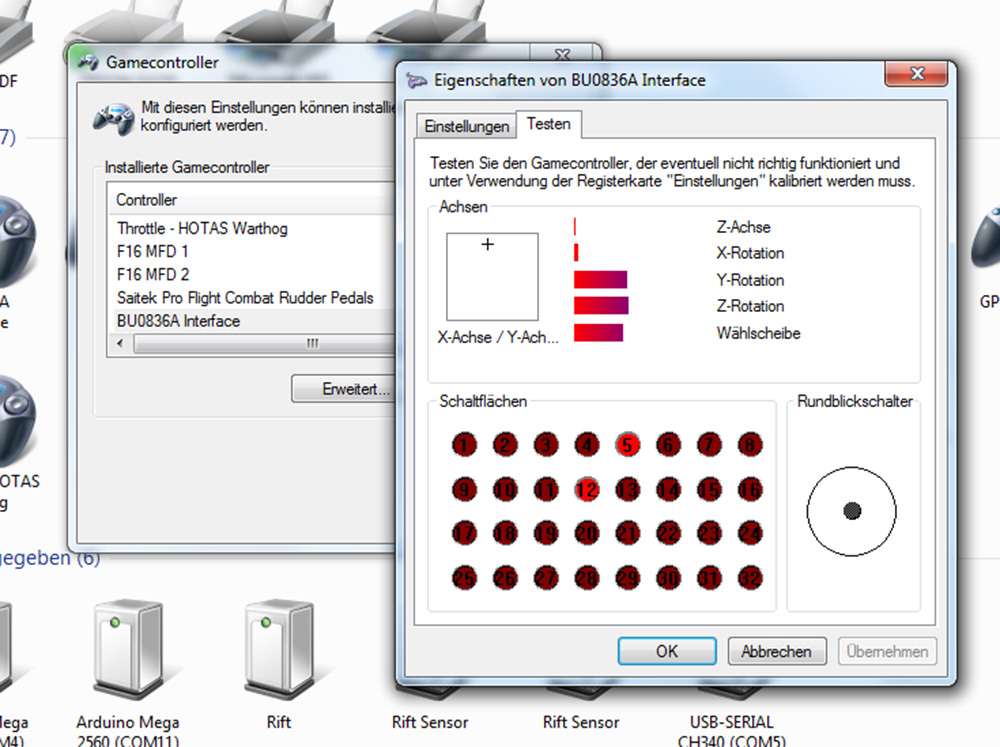
Once finished connecting all switches, plug the interface board into your computer. It should show up as a new device in the Windows Gamecontroller dialog and you can assign cockpit switches to it in your simulator software like you do with any other joystick button or switch.
![]() Rohan
posted on 27.1.2019 at 1:59
Rohan
posted on 27.1.2019 at 1:59
Hello, I am making the left and right DDI's, could I ask what buttons did you use for the DDI funtion keys and where do you buy them? Do you have a plan for the DDI Bezel? Thanks
![]() Bergison
Bergison
Hi Rohan! I did not make the L/R DDIs myself, they are the MFD Cougar Pack by Thrustmaster. Check out this thread at hornetpits.org: http://hornetpits.org/index.php?topic=524.0 there are 3D printer files and a reference for suitable buttons.